Apple scrap vinegar

After almost 3 weeks I can successfully report I’ve made my very own apple scrap vinegar! People this is a big deal. We’re using up imperfect apples, cores and bruises included, and making vinegar! What more could you need? Condiment-wise… I love vinegar! I drink apple cider vinegar in warm water most mornings, add it to soups, salad dressings – I’ve always got a bottle. After making the zucchini top applesauce with neighborhood fruit finds, I still had some sad apple leftovers. These, along with the extra applesauce scraps were perfect for making DIY vinegar. It’s a very simple approach, with just a bit of stirring every day, this recipe is mostly hands-off and an awesome fermentation project for beginners.

Jump to recipe

vimeo-video-thumbnail

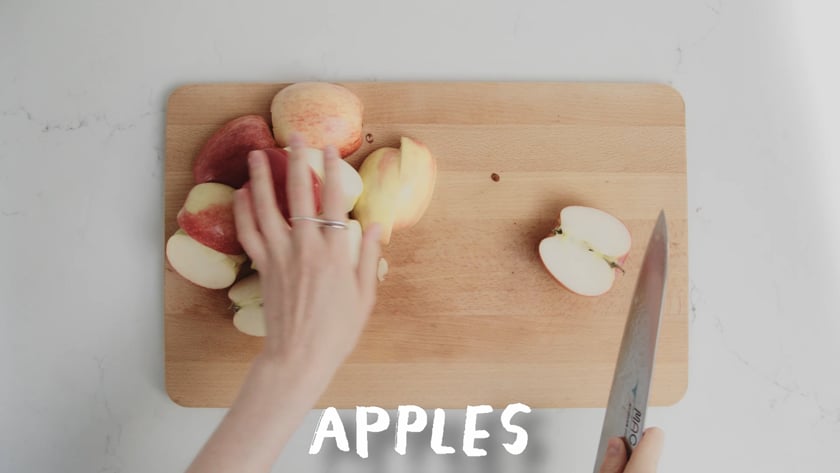
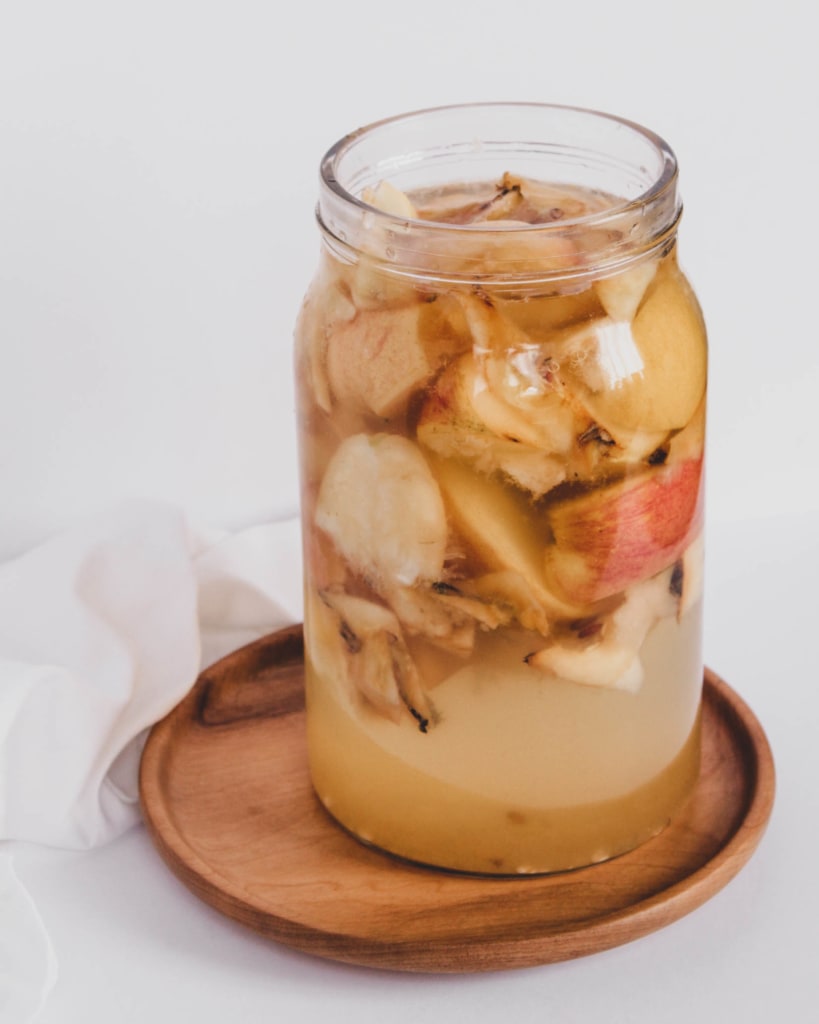
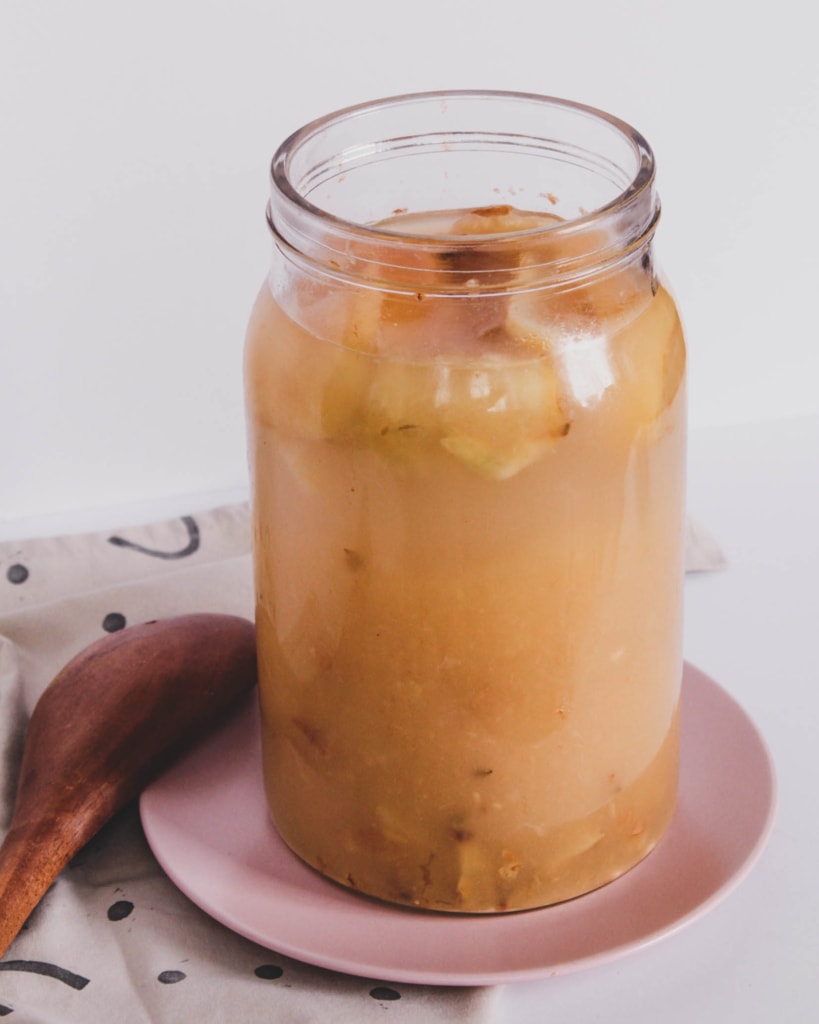
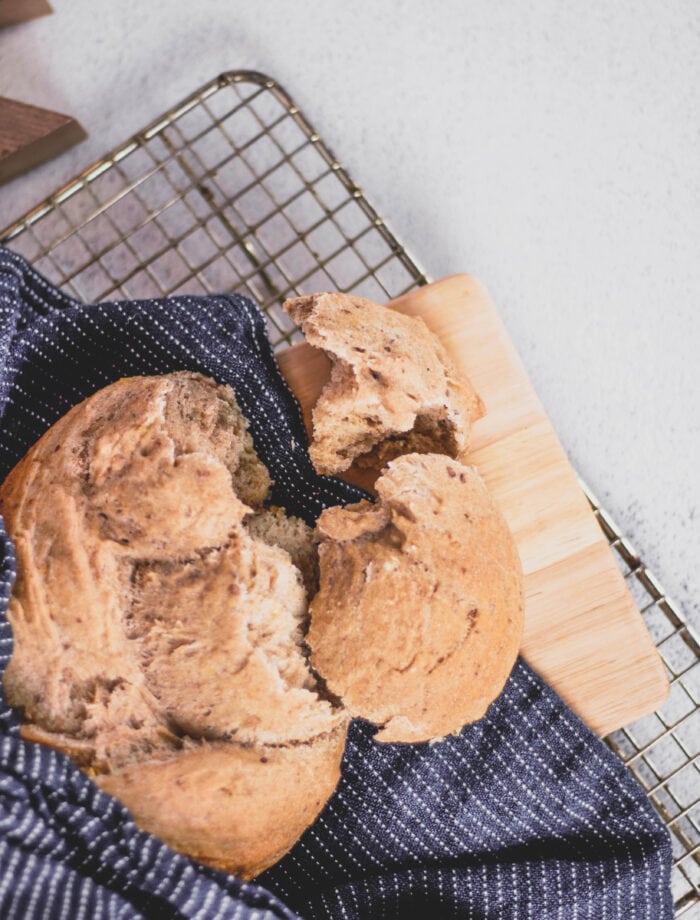
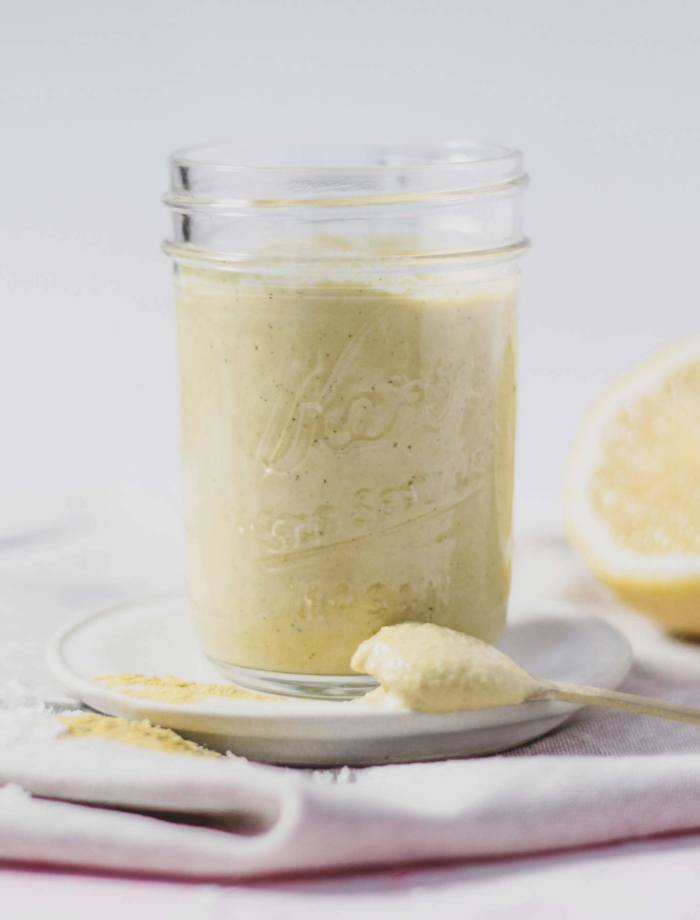
I’ve read recipes of other fruit scraps turning out great results, like pineapple, but we haven’t made it quite that far. This is the perfect season to stock up on apple scrap vinegar and use up any fruit pieces before they make it to compost. All you need is a big jar, something to cover it with, apples, and a little sugar to start. We added used lemon rinds to this version for an extra citrus kick!

Have you ever made your own vinegar?
Let me know if you give this a try! #closedloopcooking

Stay hungry,
Hawnuh Lee
Closed Loop Cooking

Apple scrap vinegar   by

Easy, no cost apple scrap vinegar using imperfect produce, including peels and cores!

makes: approx 1 liter | prep time: 5 min | fermentation: 3 - 4 weeks | total time: 5 min

Closed Loop Cooking Icon
bruised_apples

Ingredients

  • 4-5 imperfect apples, peels and cores included
  • 1 tbsp sugar
  • 2 - 3 leftover lemond rinds
  • 5 cups approx, cool tap water

Materials

  • a large jar (wide mouth preferably)
  • a breathable jar cover and rubber band - no lids here (I used a circle of thin cotton to cover)
  • small cup that will fit inside mouth of jar (no handle)
  • spoon for stirring
  • strainer
  • bottles (swing top, if possible)

To-Do's

Day 1

  1. Roughly cut up apples into 1 – 2” pieces.
  2. Place apples and lemon rinds into large jar and cover with tap water, leave about two inches of space near the top. Should be about 5 cups of water.
  3. Add sugar and stir well.
  4. Using a small glass cup or jar without a handle (that fits into your jar) place cup / jar on top of the apples. This will keep the apples weighed down and allow proper fermentation to occur. Cover the top with a light, clean cloth and rubber band.

Day 2 – 14 (approx)

  1. Remove rubber band, cloth, and cup / jar and stir vigorously. Replace cup / jar, cover, and rubber band. Repeat once per day. Mixture will begin to bubble (good signs of fermentation.) Daily stirring is important to help aerate the mixture and prevent mold growth. If you do see signs of mold, scoop or wipe out completely and make sure to leave in a cool environment.

Day 14 (approx)

  1. Once the bubbling has stopped and a strong vinegar smell is apparent, this is a sign the fermentation process has worked. Strain out apple pieces. I use a strainer set over a bowl to catch the liquid. Bottle vinegar, ideally in a swing-top bottle. This helps retain carbonation.
  2. For the next 1 – 2 weeks burp your vinegar bottles. (Open and close your bottles and expose vinegar to air to help reduce any excess fermentation.) You can keep your bottle in a cardboard box just in case of mini explosions.
  3. Enjoy! This will easily keep on the shelf for up to a year.
Rated [awcr_rating type="averageRating"]/5 based on 6 reviews

Comments

6 thoughts on “Apple scrap vinegar”

  1. Sad apples become happy apples in vinegar!!! I love apple cider vinegar, too (remind me to share a recipe for non-mayo coleslaw that uses ACV) but have never made my own. I wish I had this recipe back when I had like 4 apple trees in my backyard!

    Reply

Leave a Reply to Megan Joy Cancel reply