No-bake vegan pumpkin pie fudge

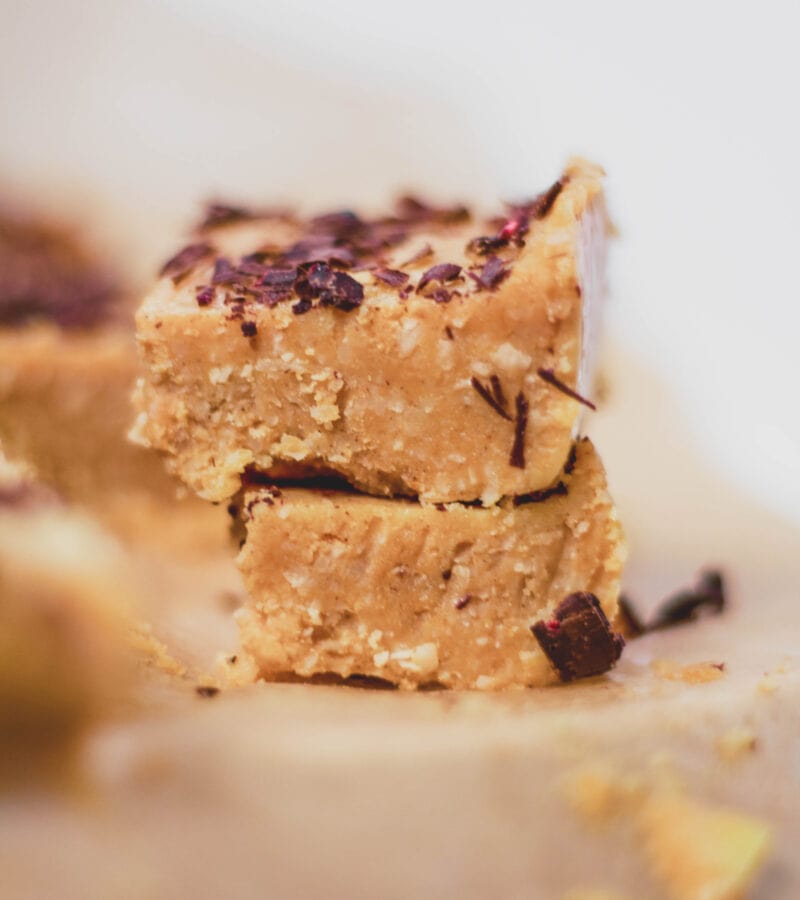
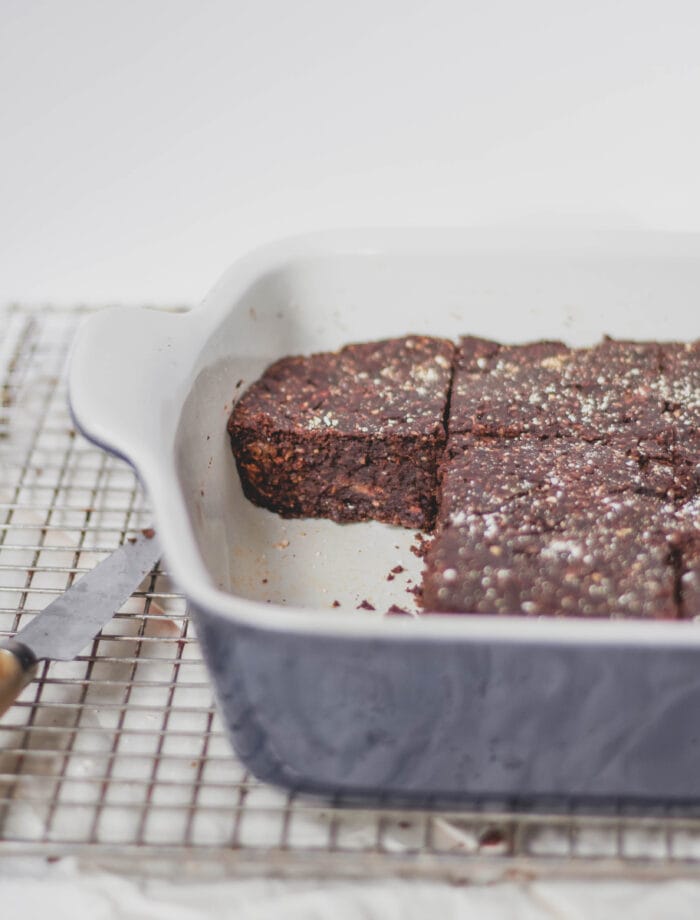
I love a pumpkin themed holiday treat. Pumpkin is the first sign of fall, which means changing leaves and a reprieve from the heat. So I’ll be snacking hopefully on pumpkin fudge during this September heat wave. These no-bake vegan pumpkin pie fudge squares are the perfect holiday dessert. Refined sugar-free, sweetened with a hint of maple syrup, they are my favorite after dinner indulgence (and before dinner, let’s be real) for any cold weather gathering. An awesome Thanksgiving or winter holiday dish (try alongside this easy, vegan apple stuffing,) the pumpkin pie flavor really brings out the season. But truly, this fudge is great any time of year.

Jump to recipe

pumpkin pie fudge
Pumpkin Pie Fudge

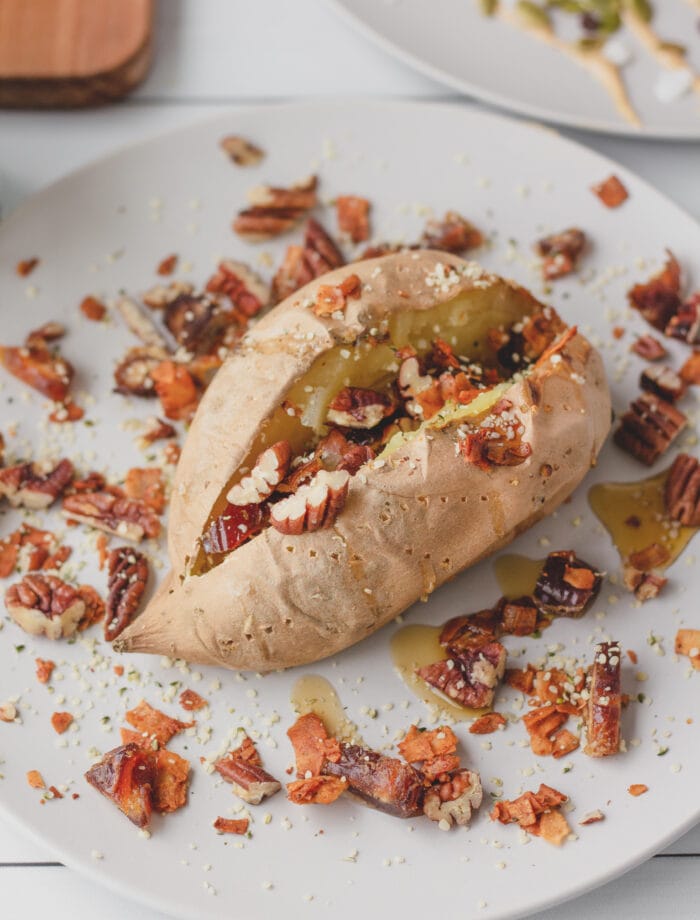
This pumpkin treat could easily swap in sweet potato depending what you have on hand. A versatile recipe, try changing up your flavor with cinnamon or ginger. This fudge makes great use of our easy, creamy, package-free coconut butter and is an awesome gluten-free, dairy-free dessert. You’ll make extra, just for the leftovers!

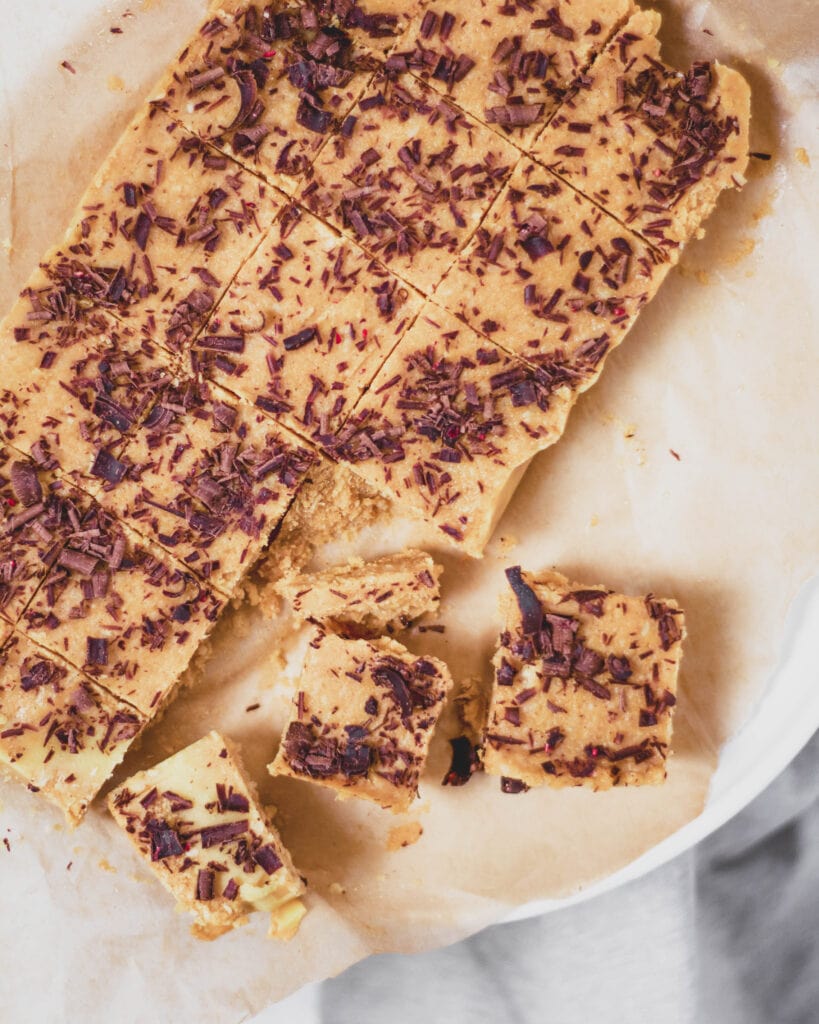
You can top this fudge with any variety of nuts, seeds, chocolate curls, or whatever’s in the kitchen. Just make sure your mixture has cooled enough before you add anything that might melt!

Stay hungry,
Hawnuh Lee
Closed Loop Cooking
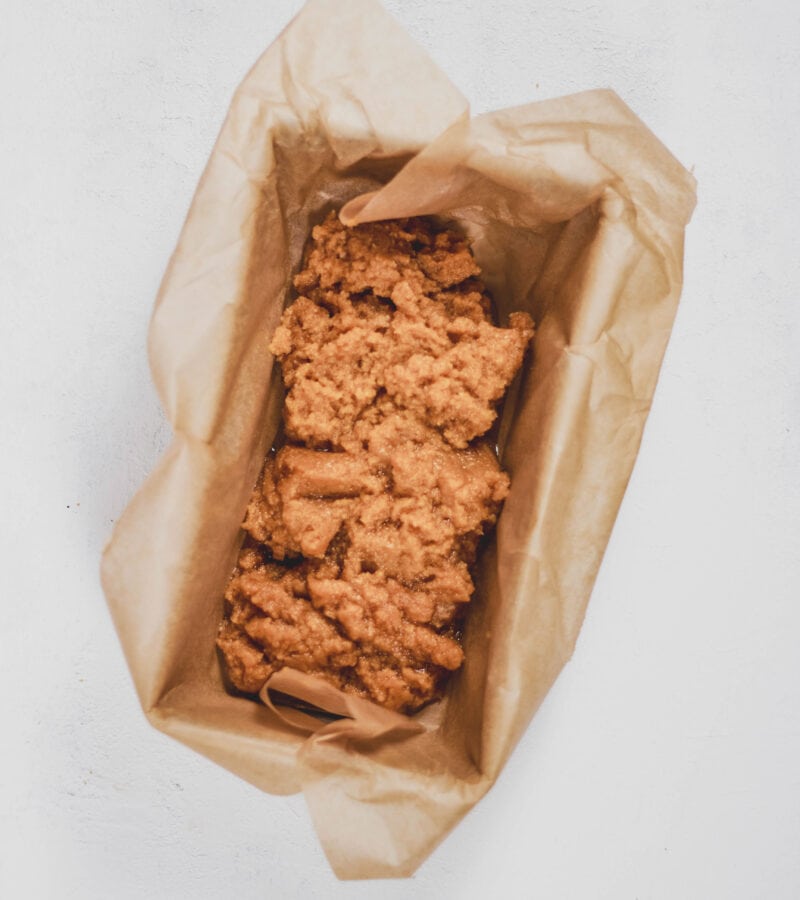
No-bake vegan pumpkin pie fudge   by

These no-bake vegan pumpkin pie fudge squares are the perfect holiday dessert. Refined sugar-free, sweetened with a hint of maple syrup, they are my favorite after dinner indulgence (and before dinner, let’s be real) for any cold weather gathering.

Closed Loop Cooking Icon
Pumpkin Pie Fudge

Ingredients

  • 1/2 cup pumpkin puree 
  • 1/3 cup coconut oil
  • 3/4 cup coconut butter
  • 1/4 cup maple syrup
  • 1 tsp pumpkin pie spice
  • 1/4 tsp kosher salt
  • desired toppings - chocolate curls, toasted nuts + seeds, etc...

To-Do's

  1. Line a loaf pan or similar sized pan with parchment paper (I use unbleached paper I can compost.)
  2. In a medium saucepan add all ingredients. Turn on medium heat and stir slowly until everything has combined, make sure the mixture does not come to a boil.
  3. Once fully melted, pour mixture into prepared pan and smooth out into a flat plane.
  4. Place in freezer for 30 – 45 minutes. Pull out and sprinkle on desired toppings evenly. Place back in freezer for 1 additional hour. Serve and enjoy!
  5. After freezing, this keeps well in the fridge for about 1 month.
Rated [awcr_rating type="averageRating"]/5 based on 0 reviews

Comments

Leave a Comment