Tangy ginger turmeric sauerkraut

What a year 2020 was for fermentation! While I may be guilty of posting an obnoxious amount of photos showing off my homemade sourdough, I didn’t limit my enzymatic adventures to bread–a ginger bug (for homemade sodas) and a few quarts of sauerkraut at a time now permanently reside in my kitchen. Whether you’ve already got a mini science lab going on or have yet to experiment, this subtly spicy, ginger turmeric sauerkraut is truly worth a taste. (If you’ve already mastered a DIY apple scrap vinegar, this is another great beginner fermentation project to get your probiotic fix.)

Jump to recipe

ginger turmeric sauerkraut

For optimal results, get your hands on the freshest cabbage possible–ideally organic. Avoid salt with iodine or other added minerals. I used a combination of smoked sea salt and Himalayan salt, which are both good options. Kosher salt is always a good option. To get a well-salted, crispy ferment every time, measure your salt by multiplying the total weight of your veggies by 2%. For example, I had about 900g of veggies so I used 18g of salt. Too little salt can encourage mold growth and cause other problems while too much salt will inhibit fermentation. If you don’t have a scale you can follow the 2 tsp for every pound of veggies rule of thumb, but keep in mind that different salts vary wildly in volume by weight.

I’ve found that the ideal place to ferment is out of direct sunlight, draft-free and between 65°F and 72°F. Sauerkraut usually ends up in my bedroom closet because the temperature there doesn’t fluctuate as much as it does in my kitchen or living room. Too cold an environment will impede fermentation, but too much heat can produce a kraut that’s too mushy. 

I left this batch to ferment for 2 weeks, but you could get away with 1½-6 weeks depending on your preference. I burped (slightly opened lid) about once a day for the first week, had small amounts of “spillage” –no more than ½ tsp each– occasionally, and had to refill with a 2% brine once towards the end of the process. It turned out perfectly, each ingredient melding together to create an entirely new flavor that’s funky, complex and deeply satisfying. And if something goes totally wrong? No biggie! Hopefully you learned something for next time around. I love to add sauerkraut to salads, grain bowls, sandwiches, rye crispbread, or thick slices of homemade sourdough with a layer of creamy cashew cheese sauce, plant-based mayo, carrot top + kale dip, or hummus. The options are endless!
Tangy ginger turmeric sauerkraut   by

A few quarts of sauerkraut at a time now permanently reside in my kitchen. Whether you’ve already got a mini science lab going on or have yet to experiment, this subtly spicy, ginger turmeric sauerkraut is truly worth a taste.

makes: 1 quart | prep time: 45 min | Ferment time: 2 weeks | total time: 45 min

Closed Loop Cooking Icon
ginger turmeric sauerkraut

Ingredients

  • 1/2 large head green cabbage (650g)
  • 2 large carrots, unpeeled (180g)
  • 2" turmeric (25g)
  • 2" ginger root (25g)
  • non-iodized salt by weight of vegetables (900g x 0.02=18g)
  • 1-2 serrano peppers (20g)
  • 3-4 garlic cloves
  • 1 tbsp yellow mustard seeds
  • freshly cracked pepper, to taste

To-Do's

  1. Before getting started, make sure your workspace and ingredients are clean. With just water, lightly rinse veggies to remove any visible dirt. Remove any loose outer leaves of cabbage and set aside. If including turmeric, make sure to cover any surfaces that could get stained and wear gloves.
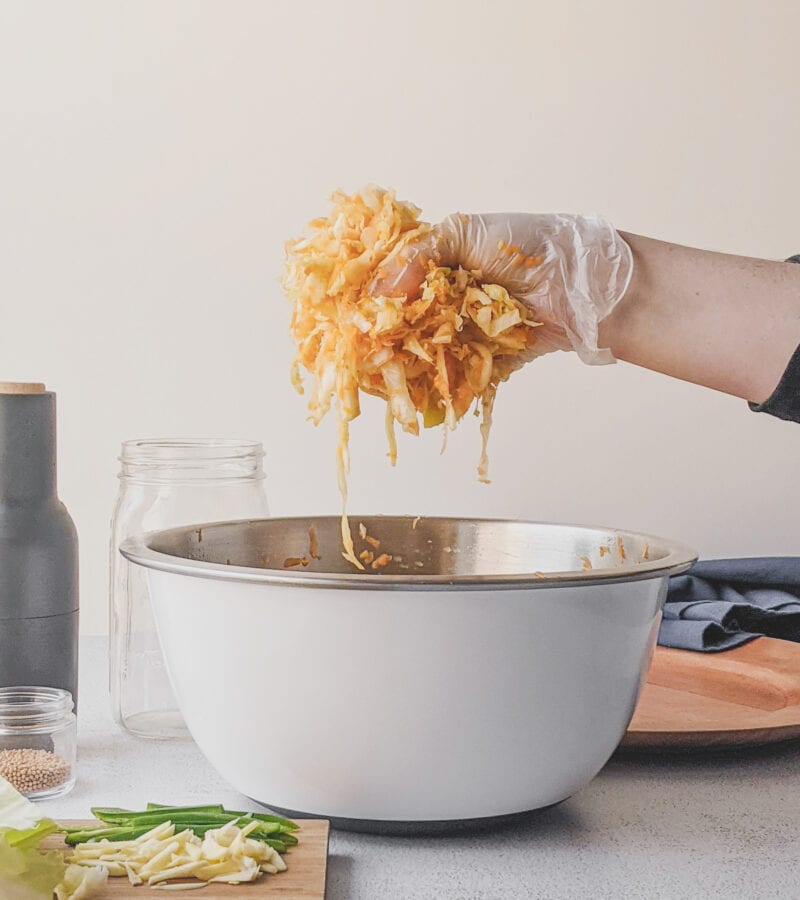
  2. With a sharp knife, thinly shred cabbage and place in a large bowl. Grate carrot, turmeric, ginger into the same bowl and add salt. Set aside for 20 minutes.
  3. In the meantime, julienne the serrano peppers (reserving or removing seeds depending on preference) and garlic cloves.
  4. Going back to your bowl, your veggies should have begun to break down and release liquid. Firmly massage for 5-10 minutes until they release even more liquid (enough to completely submerge the veggies when packed into the jar) then add peppers, garlic, mustard seeds, and freshly cracked pepper. Mix until thoroughly combined.
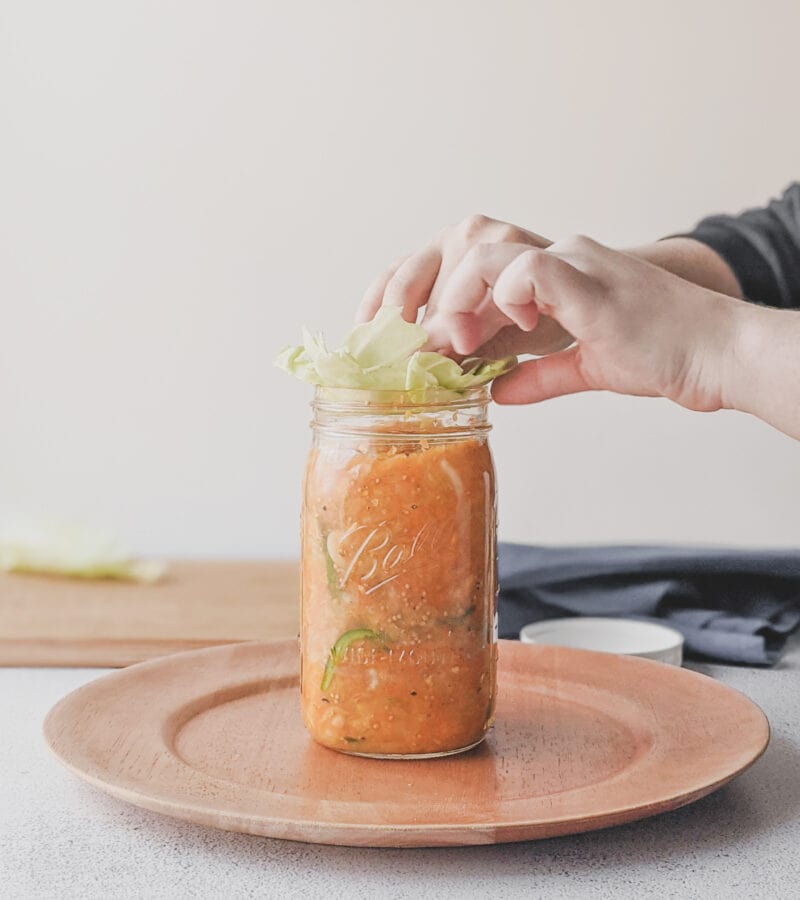
  5. Scoop out and pack into jar as tightly as possible*, then cover with the rest of the liquid. Use a fermentation weight, folded cabbage leaf, or small jar to keep the veggies down. If not completely submerged, make a 2% brine by dissolving 5 grams salt in 1 cup filtered water and and add as much as needed to cover to jar.
  6. Seal jar and place on a tray or in a container to catch any liquid that might bubble up and out of the jar during fermentation. Let sit somewhere dark, draft-free and between 65°F and 72°F for 2 weeks, burping once a day for the first week. (Open jar slightly to release excess gas build up.)
  7. When checking on your kraut, look for healthy signs of fermentation. You should see gas bubbles produced by the bacteria Leuconostoc Mesenteroides in the first 3 or 4 days (which also causes liquid overflow in the jar). Make sure the water line has not crept past the vegetables. If it has, top off with the 2% brine mentioned above. If you find white foam, simply scrape it off and refill to ensure all vegetables are submerged. Small amounts of mold found on the surface could possibly be scraped off as well, but please toss if you find it growing in other areas.** 
  8. By the end of fermentation, the veggies will be much less saturated in color and softened, but still crispy. Once satisfied with taste, enjoy and refrigerate for 4-6 months.

Notes

*I love using Vitamix tamper to pack it down.
**Remember to trust your sense of smell–there is a difference between the funk of a ferment and the stench of something unsafe to eat.

Rated [awcr_rating type="averageRating"]/5 based on 0 reviews

Comments

Leave a Comment